Language
 English
 中文简体
 Español
 русский

 +86-15268315011


SEPS Melting Temperature: Practical Guide for Styrenic Block Copolymers
SEPS, short for styrene-ethylene-propylene-styrene, is a hydrogenated styrenic block copolymer. If you are new to the material, the first surprise is that it does not have a single sharp melting point like a semicrystalline plastic. Instead, SEPS softens over a temperature range. The number that matters in production is the practical melt-processing window, which for most SEPS grades sits between 180°C and 230°C. In this guide, we will explain what that range means, how the polystyrene domains and the EP midblock behave, and how to set temperatures for extrusion, molding, and film work without overprocessing the polymer.
Content
- 1 What SEPS Melting Temperature Really Means
- 2 The Practical Melt Window: 180–230°C
- 3 How the Styrene and EP Blocks Respond to Heat
- 4 Temperature Bands at a Glance
- 5 Setting Temperatures by Process
- 6 SEPS vs. SEBS and SBS: Temperature Differences
- 7 Common Problems and Temperature Fixes
- 8 A Practical Starting Point
What SEPS Melting Temperature Really Means
SEPS is a block copolymer. At each end of the chain sits a polystyrene block; in the middle is a saturated ethylene-propylene rubber segment. The polystyrene blocks associate into glassy domains and act as physical crosslinks. The EP midblock stays flexible at room temperature. That structure gives SEPS its elastic recovery, transparency, and thermoplastic behavior.
Because the crosslinks are physical, SEPS can be melted and reformed. But the “melting” is not a clean crystal-to-liquid transition. The polystyrene domains soften first, then the whole melt flows under shear. The glass transition temperature of polystyrene is around 100°C, while the EP midblock has a glass transition well below room temperature, often around −60°C. Those two numbers explain why a SEPS part feels rubbery at room temperature but can still be injection molded at 200°C.
When a supplier quotes a SEPS melting temperature, they usually mean the temperature at which the material can be processed into a homogeneous melt. For many grades, that is a range rather than a point. It depends on styrene content, molecular weight, oil extension, and the additives in the compound.
The Practical Melt Window: 180–230°C
In everyday production, 180°C to 230°C is the working window we recommend for most SEPS grades. Below 180°C, the melt is often too viscous. You may see incomplete fusion, high die pressure, weld lines, or rough surfaces. Above 230°C, the risk of degradation rises quickly. The polymer can yellow, form gels, or lose molecular weight. The effect is not always visible in the first part, so residence time matters as much as the set point.
A useful rule is to start in the middle of the window, confirm stable flow and part quality, then adjust in small steps. If you need more flow, raise the barrel or die temperature by 5°C at a time. If you see discoloration or gels, lower the temperature and check for dead spots in the machine.
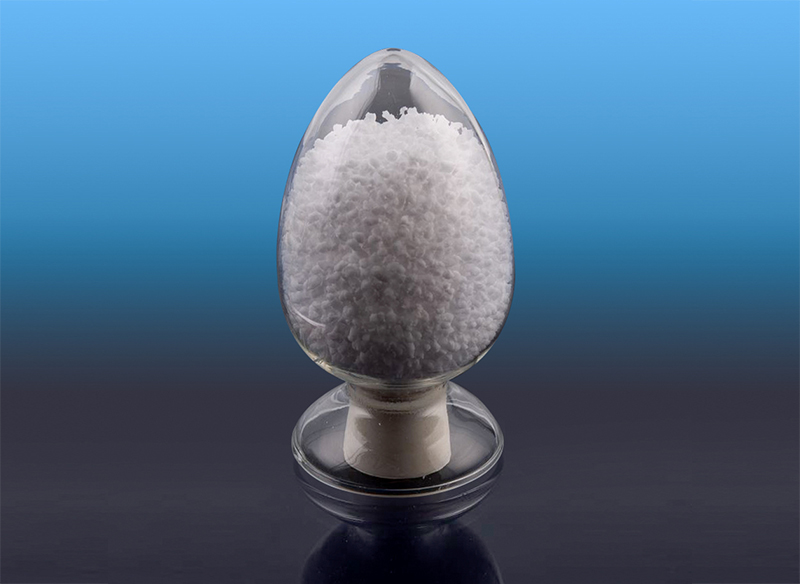
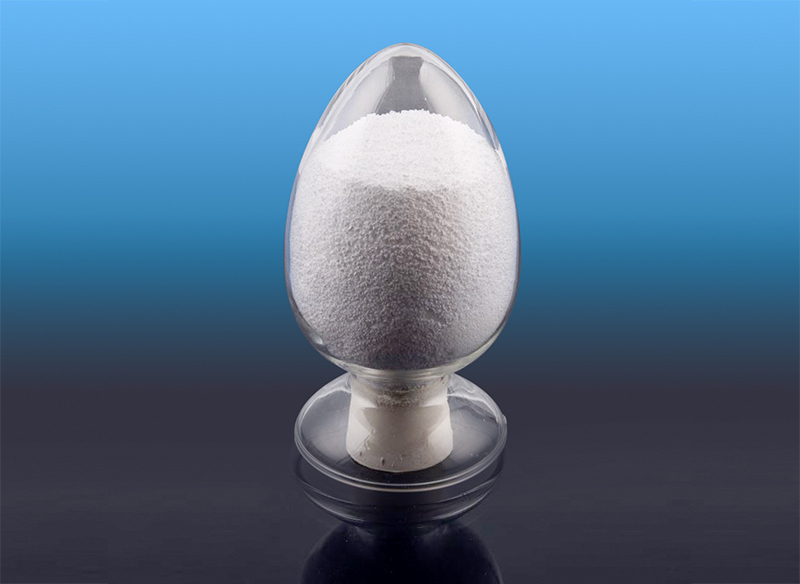
 Zhongli SEP(S) Hydrogenated Styrene-Isoprene Block Copolymer GradesOil-soluble rheology modifier grades for optical cable gels, cosmetics, and lubricants; useful when tuning melt flow and temperature in SEPS/SEP(S) processing.View Product →
Our own SEPS/SEP(S) grades are designed for consistent melt flow in this range, but every formulation has its own sweet spot. The data sheet and a short temperature ladder on the actual machine are the best starting points.
How the Styrene and EP Blocks Respond to Heat
The two blocks do not respond to heat in the same way. The polystyrene end blocks provide strength and creep resistance below their glass transition. As the temperature approaches 90–100°C, those domains begin to soften. The material loses some of its shape memory and becomes easier to deform. That is why the upper service temperature of a SEPS part is usually tied to the polystyrene phase, not to the EP midblock.
The EP midblock is already flexible at room temperature. It contributes elasticity, low-temperature toughness, and compatibility with oils and polyolefins. In the melt, it helps the chain segments move, but it does not dissolve the polystyrene domains by itself. You need enough heat and shear to break up the domain structure and form a uniform melt.
This is also why SEPS can be processed at lower temperatures than some people expect. Once the polystyrene domains are softened and the melt is under shear, the material flows. The goal is not to reach a theoretical melting point; it is to reach a stable, homogeneous state without overshooting the degradation threshold. Our detailed SEPS processing temperature guide gives machine-level settings for extrusion, injection molding, and film.
Temperature Bands at a Glance
The table below summarizes the main zones. Treat the numbers as a starting map, not a specification. Your grade, equipment, and part geometry will shift the edges.
| Temperature range | What happens in SEPS | Practical meaning |
|---|---|---|
| Below 90°C | Polystyrene domains are glassy; the material behaves as an elastic solid. | Not melt-processable as a homogeneous melt. |
| 90–150°C | Domains soften; flow is limited and uneven. | Some low-shear forming may be possible, but not consistent for molding. |
| 150–180°C | Transition zone; partial flow with high viscosity. | Useful for preheating or low-speed extrusion in some setups. |
| 180–230°C | Practical melt-processing window; stable flow for most grades. | Recommended starting range for extrusion, injection molding, and film. |
| 230–250°C | Narrow safety margin; degradation risk rises. | Short residence time only; watch for discoloration and gels. |
| Above 250°C | Chain scission, gels, and yellowing become likely. | Avoid unless your grade data and trials clearly support it. |
Setting Temperatures by Process
Extrusion
For profile, sheet, and compounding extrusion, a common start is 160–180°C in the feed zone, 190–210°C in the compression zone, and 200–220°C at the die. Keep the melt below 230°C. If the die pressure is high, raise the last barrel zone slightly rather than pushing the whole profile up. Check the melt temperature with a needle probe, not just the controller set point.
Injection Molding
Injection molding usually runs with a barrel profile from 180–200°C at the feed end to 210–230°C at the nozzle. The mold can be 30–60°C. Higher mold temperatures improve surface finish and reduce frozen-in stress, but they also lengthen the cycle. Use a moderate injection speed and avoid excessive shear at the gate. SEPS is shear-sensitive, so a fast shot can generate more heat than the barrel set point suggests.
Film and Blow Molding
For film and blow molding, start at 190–220°C and watch the bubble or web stability. Too low a temperature gives rough surfaces and high torque. Too high a temperature gives sag, odors, or gels. Keep the screw speed and melt temperature in balance, and clean the die if you see build-up. A stable melt is more about consistent residence time than a single number.
SEPS vs. SEBS and SBS: Temperature Differences
SEPS and SEBS are both hydrogenated styrenic block copolymers. SEPS has an ethylene-propylene midblock; SEBS has an ethylene-butylene midblock. Their processing windows overlap strongly, generally 180–230°C. SEPS often shows slightly better oil absorption and a different balance of elasticity and hardness, but the temperature rules are similar. SBS is not hydrogenated, so it has unsaturated double bonds in the midblock. It can process at lower temperatures, but it is more sensitive to oxidation and tends to degrade at high temperatures.
When you switch from SBS to SEPS, do not simply copy the old temperature profile. Raise the settings gradually, watch the melt index, and check the part for gel counts and color. The same applies when you move between SEPS grades with different styrene content or oil loading.
 ZHOPOLY SBS-NOE H-Series SEBS for Plastic ModificationSEBS grade family with high elasticity and compatibility for plastic modification, shoe materials, TPE, films, and medical products; relevant when comparing SEPS and SEBS.View Product →
If you are comparing SEPS with SEBS for a plastic modification project, the decision usually comes down to compatibility, oil uptake, and the target softness. Temperature is a secondary variable once you are inside the stable window.
Common Problems and Temperature Fixes
Most SEPS processing issues show up as a small set of symptoms. Here are the ones we see most often:
- Rough surface or weld lines: melt is too cold or the injection speed is too low. Raise the nozzle and last barrel zone by 5°C, then check the gate.
- Yellowing or dark streaks: melt is too hot or residence time is too long. Lower the barrel temperatures, reduce the shot size if possible, and purge the machine.
- Gels or fish eyes: degradation or contamination. Check the hot runner, screen pack, and die. Do not try to fix gels by raising the temperature.
- High die pressure or torque: melt is too viscous. Raise the temperature gradually, but confirm the pressure sensor and screen pack first.
- Sagging or dimensional drift: melt is too hot or cooling is insufficient. Lower the melt temperature and extend the cooling time.
A temperature ladder is the simplest diagnostic. Run a series of short shots at 180°C, 190°C, 200°C, 210°C, and 220°C. Keep all other settings fixed. Inspect the parts for surface, color, and mechanical integrity. That five-step test tells you more about the grade than a generic data sheet.
A Practical Starting Point
SEPS melting temperature is best understood as a processing window, not a single number. For most grades, 180–230°C gives you enough flow to fill a mold or form a film while staying far enough from the degradation zone. The polystyrene domains soften around 90–100°C, but complete melt homogenization requires higher heat and shear. Keep residence time short, verify the actual melt temperature, and adjust in small steps.
If you are starting a new project, begin with the grade data sheet, run a temperature ladder, and check the melt index and color. Our team is always happy to talk through the details and help you find a starting profile for your machine. The right window is the one that gives you stable parts, not the one that looks best on paper.